You’ve got a great shot, but the image is blurry, underexposed, or just lacks the sharpness it needs. Whether you’re a content creator preparing visuals for a campaign, a marketer building social ads, or a designer sourcing assets for a landing page, low-quality images can quietly undermine your work. The good news: you don’t need Photoshop skills or hours of editing to fix them.
AI-powered tools have made it possible to enhance photo quality online in seconds, without sacrificing the detail that makes an image look professional. In this guide, we’ll walk through how photo enhancement actually works, what problems it solves, and how to use it effectively for your content.
Why Image Quality Matters More Than You Think
In marketing and content creation, visuals do a lot of heavy lifting. Studies consistently show that people process images far faster than text, and low-quality visuals signal low-quality content, even if the writing is excellent. A pixelated product photo, a grainy thumbnail, or a blurry team headshot can erode trust before the reader ever reaches your headline.
The problem is that not every image you work with starts out sharp and well-lit. You might be working with:
- Screenshots or repurposed assets from older campaigns
- User-generated content (UGC) submitted at low resolution
- Product images shot without professional lighting
- Stock photos that need color correction or noise removal
- Old archived visuals that need restoration
This is exactly where an AI image enhancer fits into your workflow.
What Is an AI Image Enhancer?
An AI image enhancer is a tool that uses machine learning models to automatically analyze and improve a photo. Unlike basic filters or manual sliders, AI models understand the content of an image, edges, skin tones, light sources, texture, and make targeted improvements rather than blanket adjustments.
A good AI photo enhancer can handle a range of common problems:
- Blur and lack of sharpness, restoring edge clarity and fine detail
- Low resolution, upscaling images to 4K without adding artificial artifacts
- Noise and grain, cleaning up images taken in low light
- Poor exposure, fixing underexposed or overexposed areas
- Flat color, correcting contrast and saturation for a more vivid result
- Facial details, enhancing skin tones and facial features with natural results
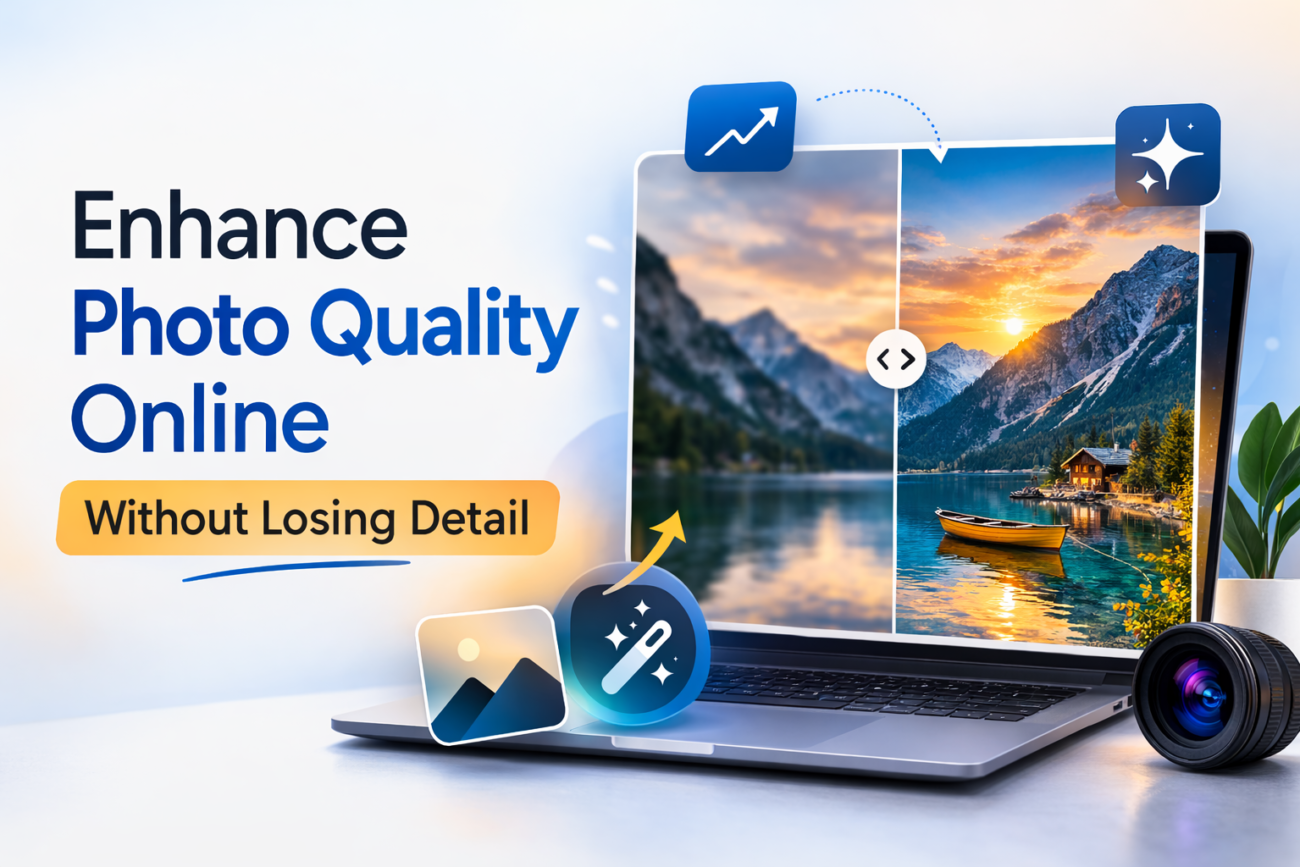
The key phrase here is “without losing detail.” Traditional upscaling would simply stretch pixels, creating that telltale soft, mushy look. AI-based image quality enhancers reconstruct detail rather than stretching it, which is why the results look genuinely sharper, not just bigger.
Common Mistakes That Destroy Image Quality (And How AI Fixes Them)
Before jumping into the how-to, it helps to understand what typically goes wrong with images in the first place.
1. Over-compression
Every time a JPEG is saved and resaved, it loses data. Images shared on WhatsApp, downloaded from social media, or exported at low quality settings often arrive with visible compression artifacts, blocky regions, smeared edges, and muddy colors. AI enhancement can detect and smooth these artifacts while recovering the underlying detail.
2. Motion Blur or Camera Shake
A slightly shaky hand or a moving subject can ruin an otherwise great photo. AI sharpening algorithms can reverse this blur by identifying the direction and degree of movement, then reconstructing the sharp version of edges and lines.
3. Digital Noise from Low Light
High ISO settings on a camera (or a smartphone struggling in dim conditions) introduce grain. This noise makes images look rough and unprofessional. A quality AI photo enhancer can separate the noise from the actual texture and remove the former while preserving the latter, a balance that’s genuinely difficult to strike manually.
How to Enhance Photo Quality Online: Step by Step
Modern AI tools have made photo enhancement accessible even for non-designers. Here’s a general workflow that applies to most AI-powered enhancers:
Step 1: Identify the Problem
Before you enhance, know what you’re fixing. Is the image blurry, noisy, low-res, or badly exposed? Some AI tools do everything in one pass; others let you select specific enhancement types. Knowing the problem means you can choose the right model or setting.
Step 2: Choose the Right Tool
Not all AI image enhancers are created equal. Look for a tool that offers multiple enhancement models, handles different use cases (portraits, product shots, landscapes), and gives you control over the output. For example, Invideo AI image enhancer gives you access to 30+ enhancement models, from a Crystal Upscaler for portrait detail to a Clarity Upscaler that lets you control how much detail the AI adds, all without leaving the browser.
Step 3: Upload and Describe the Enhancement
Most modern AI tools work with a simple prompt-based interface. Upload your image, then describe what you want: “enhance sharpness,” “reduce noise,” “upscale to 4K,” or “fix lighting.” The AI interprets your instruction and applies the appropriate adjustments.
Step 4: Review and Regenerate if Needed
AI results aren’t always perfect on the first pass. Good enhancement tools allow you to regenerate or adjust the intensity. Compare the before and after carefully, particularly around fine textures, facial features, and edges, which are most vulnerable to over-processing.
Real-World Use Cases for Marketers and Content Creators
The applications for AI photo enhancement go well beyond fixing old or damaged photos. Here are some practical ways content teams are using it today:
- Thumbnail optimization: Sharpening and boosting contrast on YouTube or blog thumbnails to improve click-through rates.
- E-commerce product photography: Cleaning up product images shot with inconsistent lighting or a smartphone camera.
- Social media content: Enhancing UGC submitted by customers before repurposing it in brand campaigns.
- Ad creatives: Upscaling images to meet platform resolution requirements without starting from scratch.
- Email campaigns: Ensuring hero images look crisp on high-DPI (Retina) screens.
- Old content repurposing: Reviving images from past campaigns that are too valuable to abandon but too low-res to reuse as-is.
What to Look for in an AI Photo Enhancer
With so many tools available, it’s easy to pick the wrong one. Here’s what actually matters:
- Multiple enhancement models: Different images need different approaches. A portrait needs different treatment than a product shot or a landscape.
- Detail preservation: The tool should sharpen without introducing halos or artificial textures.
- Resolution upscaling: Look for tools that can genuinely upscale to 4K or higher without loss of fidelity.
- Batch processing: If you’re working at scale, you need to enhance multiple images in one go.
- Speed: A good AI image enhancer should deliver results in seconds, not minutes.
- Browser-based access: No installs, no plugins. The best tools work directly in your browser.
The Detail Preservation Problem, and Why AI Solves It
The headline of this article promises enhancement “without losing detail”, and that’s worth unpacking, because it’s the hardest part of the problem.
Traditional sharpening tools work by increasing contrast along edges. Done aggressively, this creates halos, bright or dark outlines around objects that look completely unnatural. It also amplifies noise, making grain worse rather than better.
AI-based image quality enhancers take a fundamentally different approach. Rather than applying a mathematical formula uniformly, they’ve been trained on millions of image pairs, low quality and high quality, and learned to predict what the sharper version should actually look like. The result is enhancement that feels organic: sharper hair strands, crisper product edges, cleaner backgrounds, all without the telltale signs of over-processing.
That’s the difference between a filter and a model. Filters apply rules; models understand images.
Final Thoughts
Photo quality is no longer a barrier that requires expensive equipment or professional retouching. With the right AI photo enhancer, any image can go from good enough to genuinely sharp, clean, and campaign-ready, in seconds.
For marketers and content creators, the practical upshot is simple: stop discarding low-quality images you can’t use, and start enhancing them. Whether it’s a blurry UGC photo, a pixelated archive image, or a product shot that needs a bit more pop, AI-powered enhancement gives you a fast, accessible path to professional results.
The tools are already there. All that’s left is to use them.